Hello everyone! I’m Federico, a member of the Centurion committee and above all, an avid player who has been passionate about this format since its inception.
In this primer, I’ll explain the potential and functionality of this commander, which remains relatively unexplored and underplayed in the current Centurion meta.
You can find me on Moxfield as MostBeautiful and this is the list I’m currently playing.
Happy reading!
First, let’s start by analyzing the abilities of Tameshi, Reality Architect:
- The first instance is a triggered ability that allows us to draw a card, at most once per turn, when a non-creature permanent returns to its owner’s hand.
- The second instance is an activated ability that lets us bring back an artifact or enchantment from our graveyard to the battlefield.
These two abilities synergize with each other: paying the activation costs of the second ability guarantees the return of any land to our hand, triggering the first ability without needing the second to resolve.
So, with just a single white mana, we can draw a card and perform a recursion effect at zero cost, generating a considerable advantage given the costs. Of course, it’s important to consider the drawback of going back a land, which we’ll discuss in detail in the gameplay section.
The version of the deck I’ll be discussing in this primer focuses on exploiting both instances of Tameshi due to their mutual synergy.
But fundamentally, what does this deck do? It’s a control deck with excellent board creation and management capabilities, capable of generating hand advantage, managing the stack, comboing off, and locking down the opponent. It’s very versatile, allowing us to direct and manage the game in various ways depending on the needs, both with and without Tameshi.
Deck structure
Artifacts
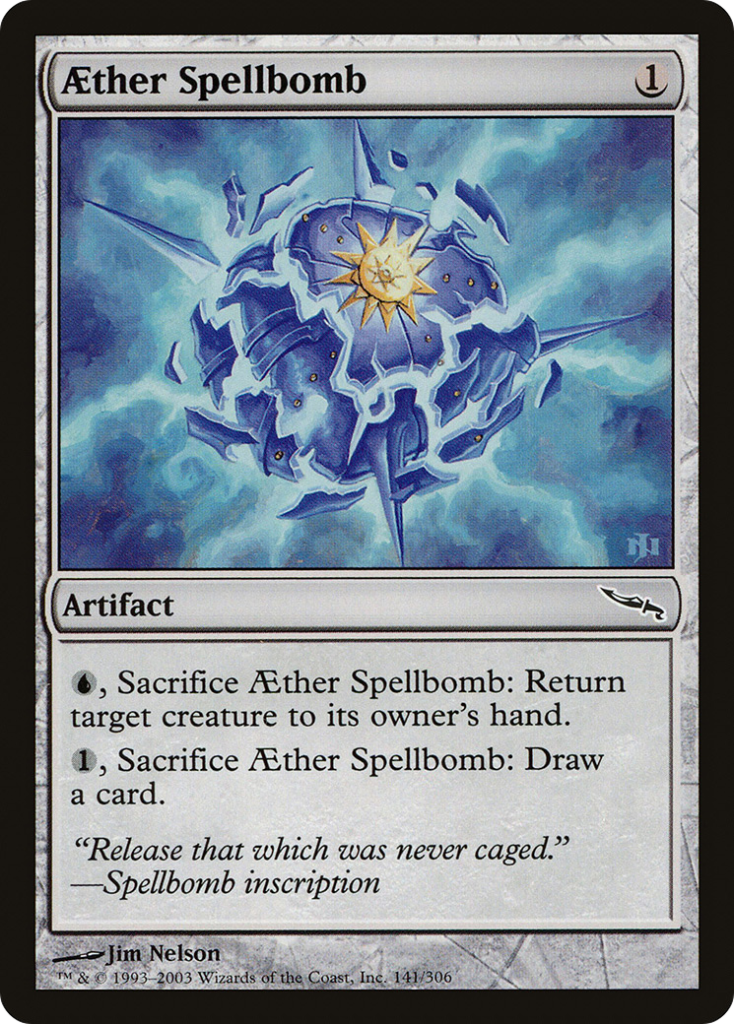
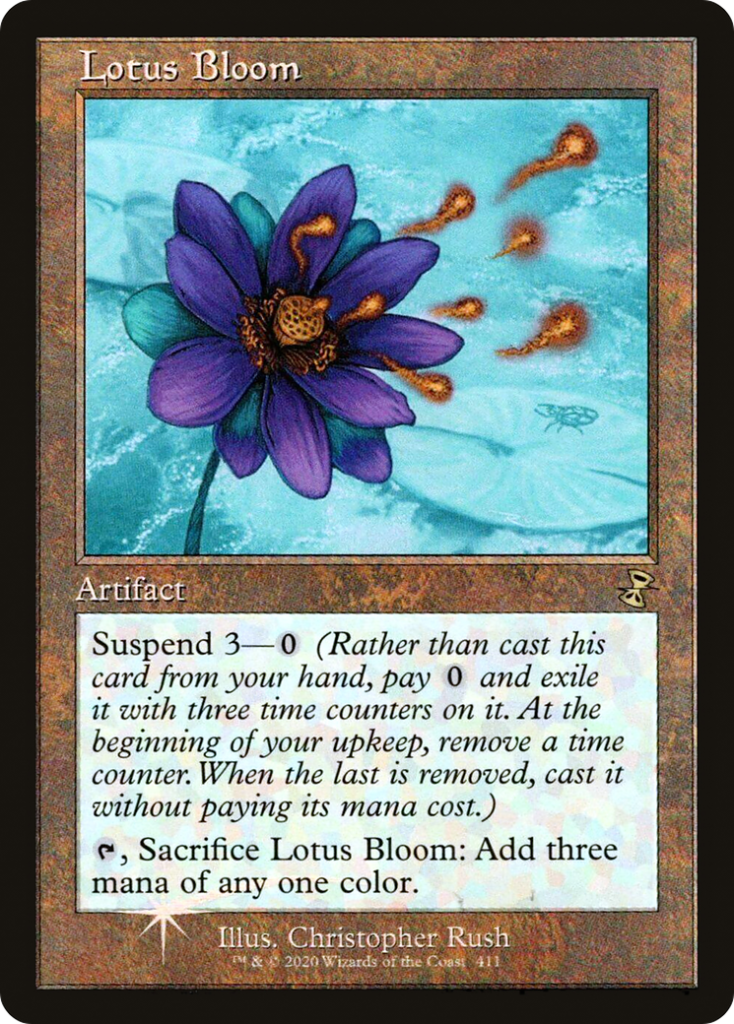
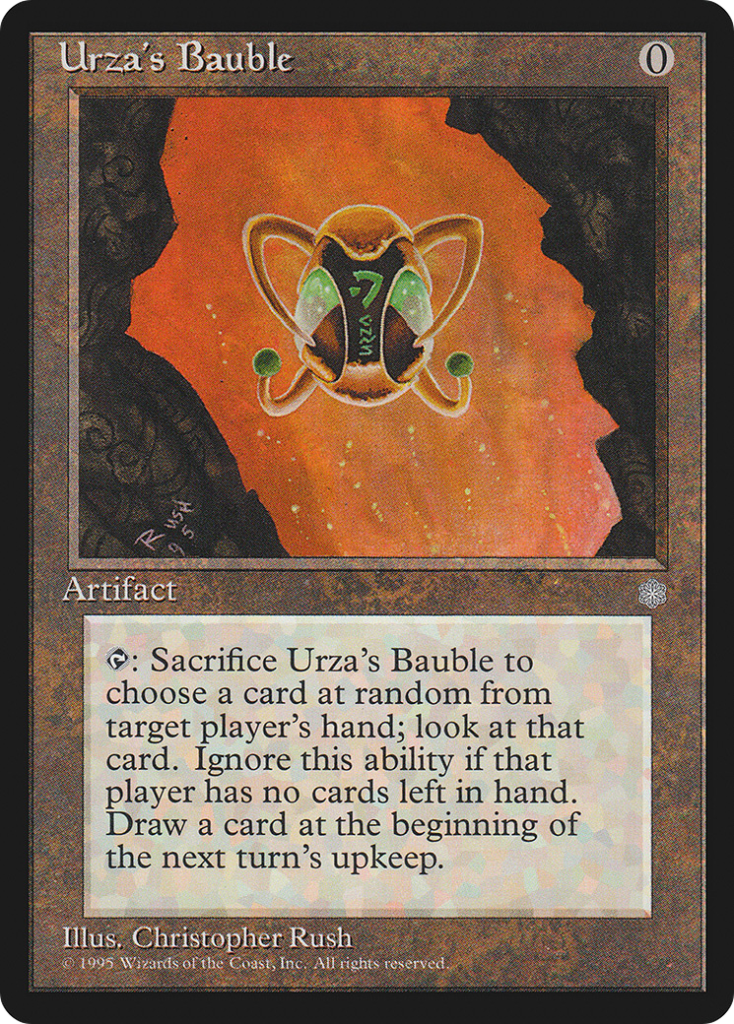
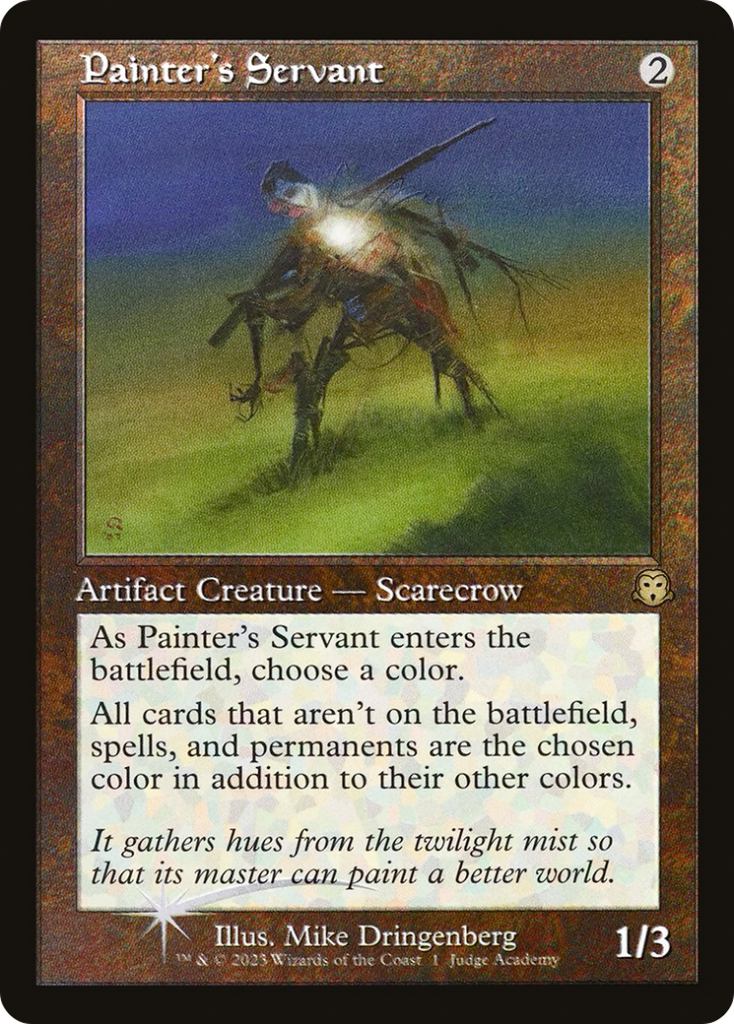
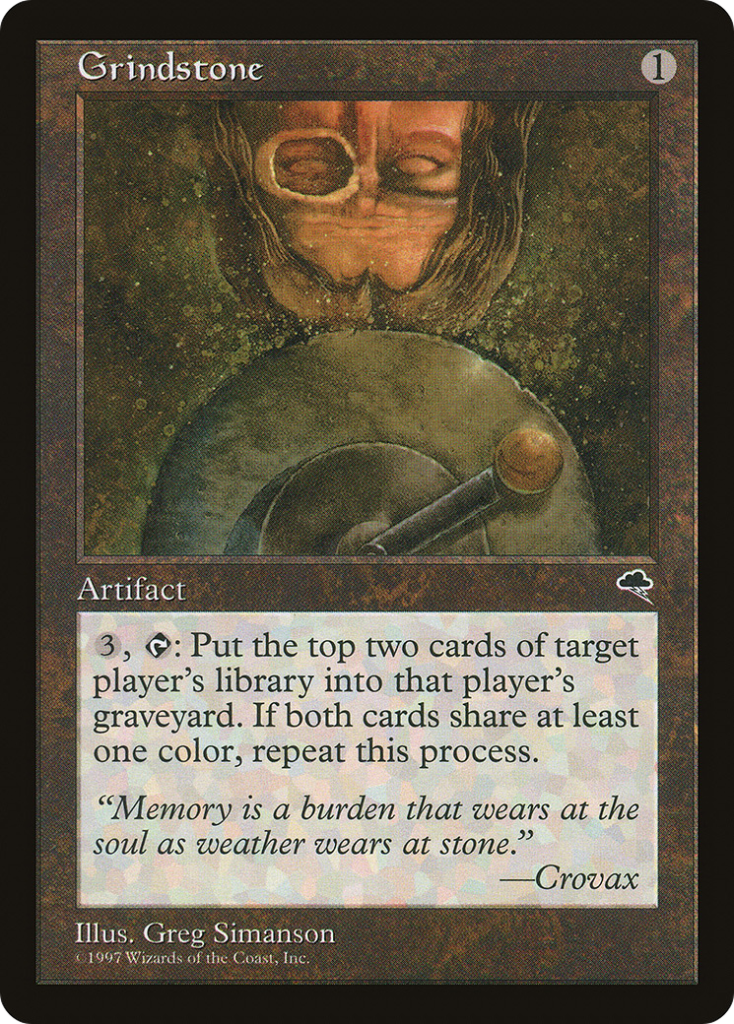
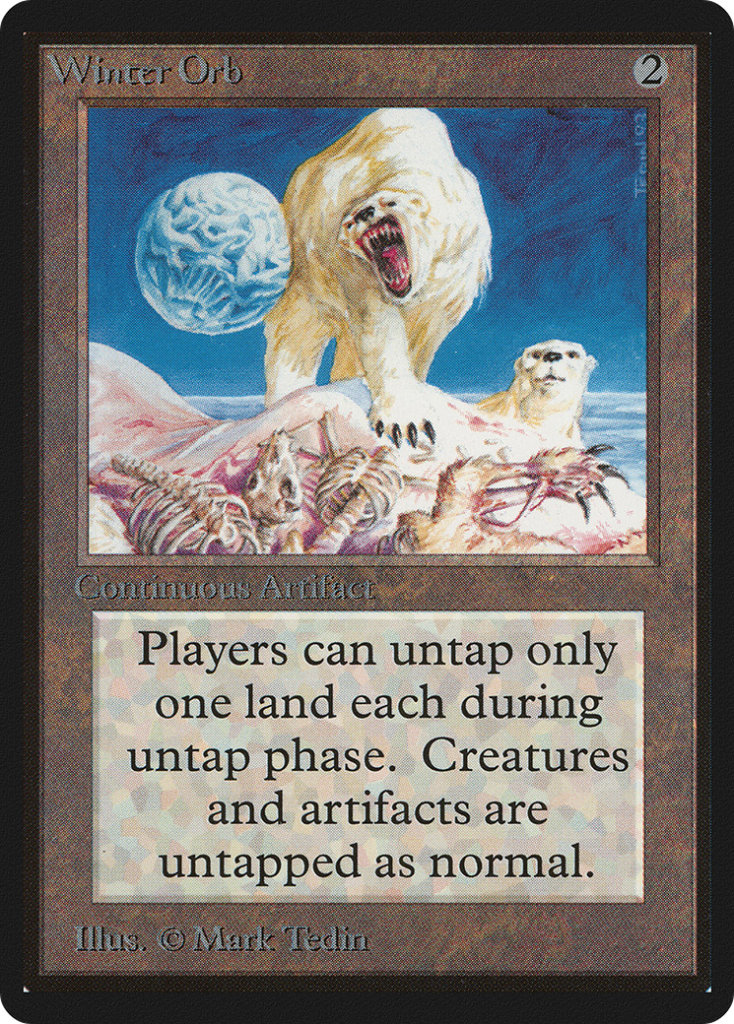
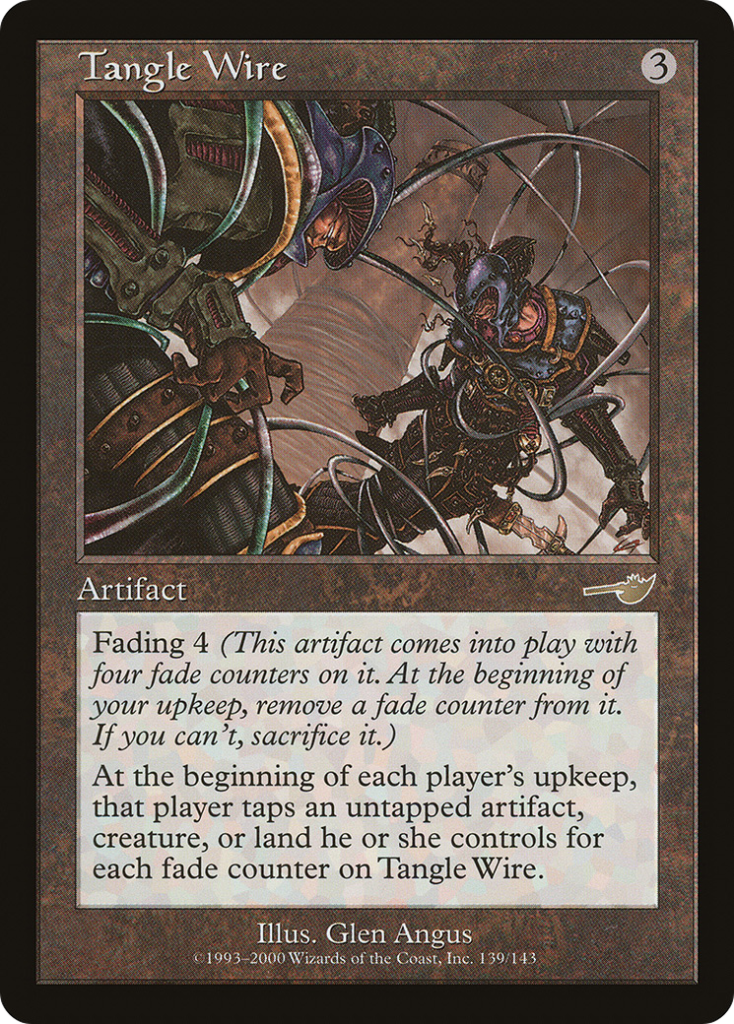
Artifacts are the engine and heart of the deck: they provide solutions for most situations (Aether Spellbomb, Soul-Guide Lantern, Pithing Needle, Portable Hole), enable combos (Painter’s Servant, Grindstone), generate board presence (Retrofitter Foundry), control the accessibility of permanents during main phases (Winter Orb, Static Orb, Tangle Wire), draw cards (Urza’s Bauble and Mishra’s Bauble), and generate mana (Lotus Bloom, Mox Opal, Lotus Petal, and other mana rocks). A special mention goes to Lotus Bloom, which, along with Tameshi, can produce a lot of mana even in the mid-game, allowing us to quickly access various combos or activate multiple recursions along with relevant spells from our hand, creating an advantage that’s hard for our opponents to handle.
Tutors
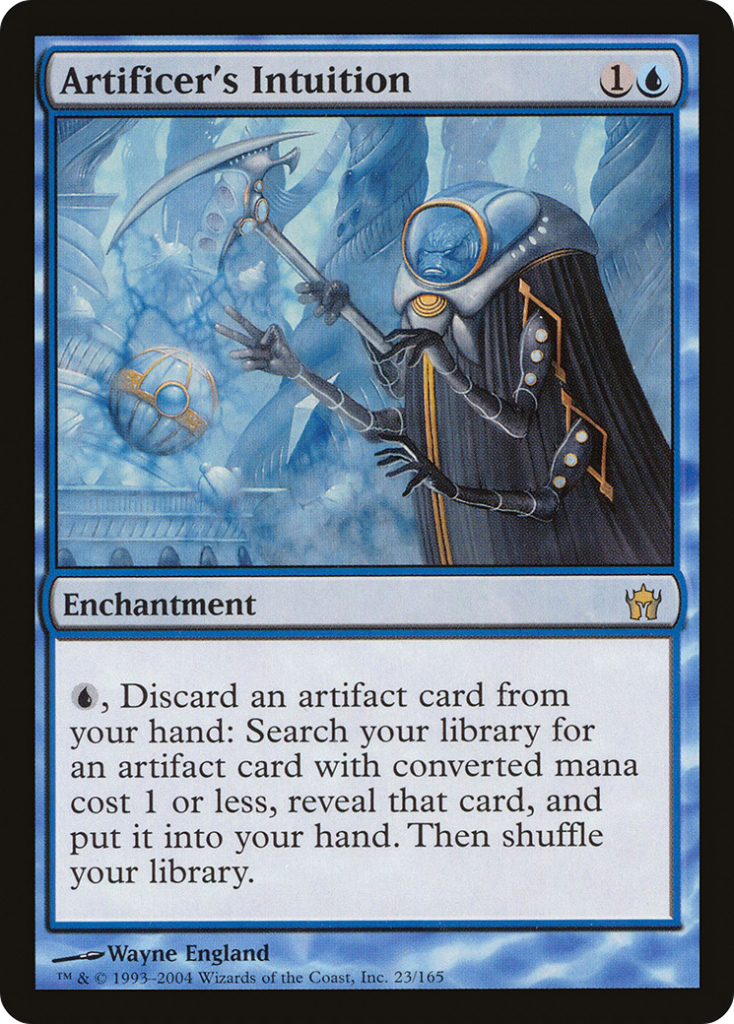
One of the most notable features of the deck is the considerable number of tutors, currently 14, including creatures, lands, instants, and sorceries. Besides utilizing less common tutors related to artifacts (Transmute Artifact, Artificer’s Intuition, etc.), Tameshi optimizes others, making them extremely sustainable, such as Weathered Wayfarer (ensuring its activation) or Personal Tutor (allowing us to immediately draw the tutored card).

Counterspell
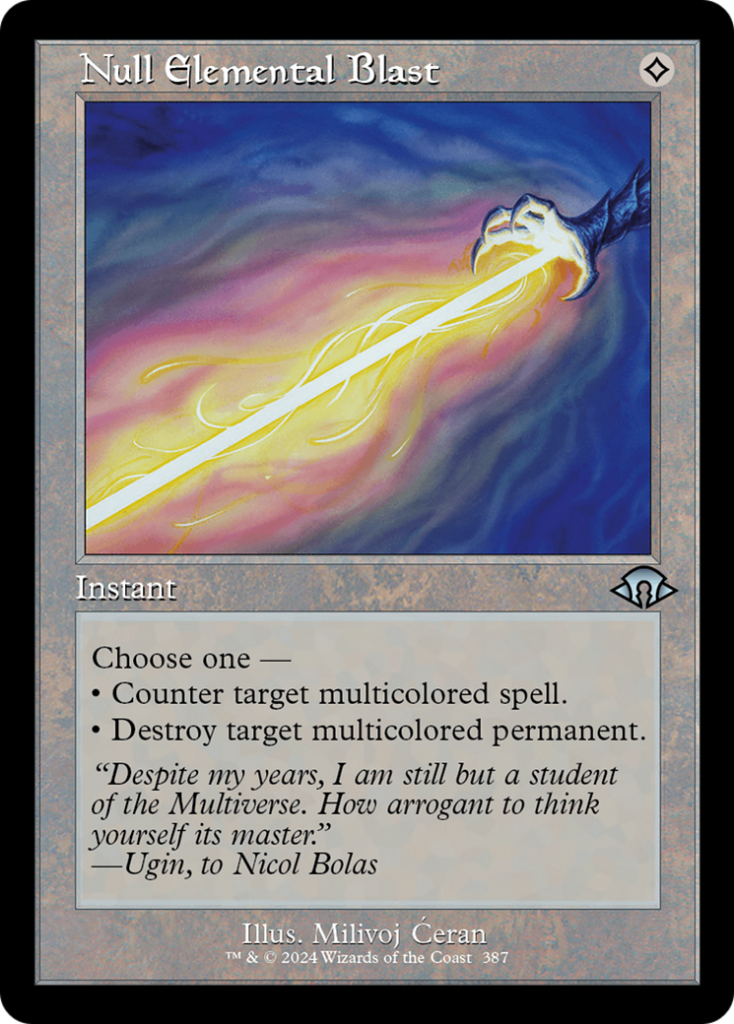
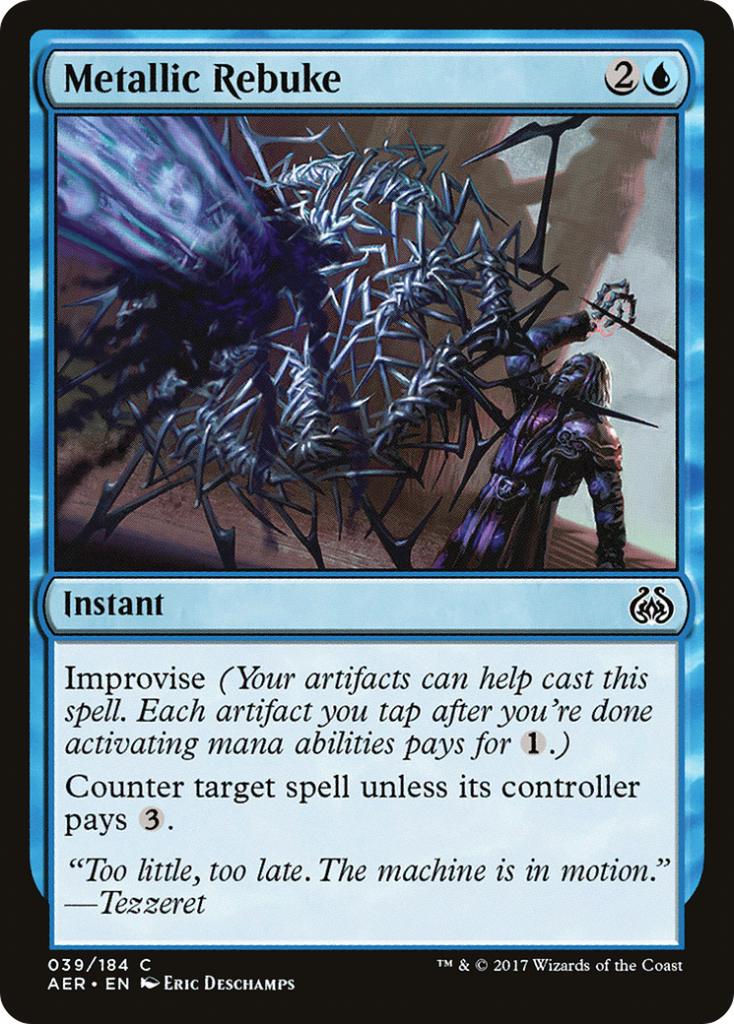
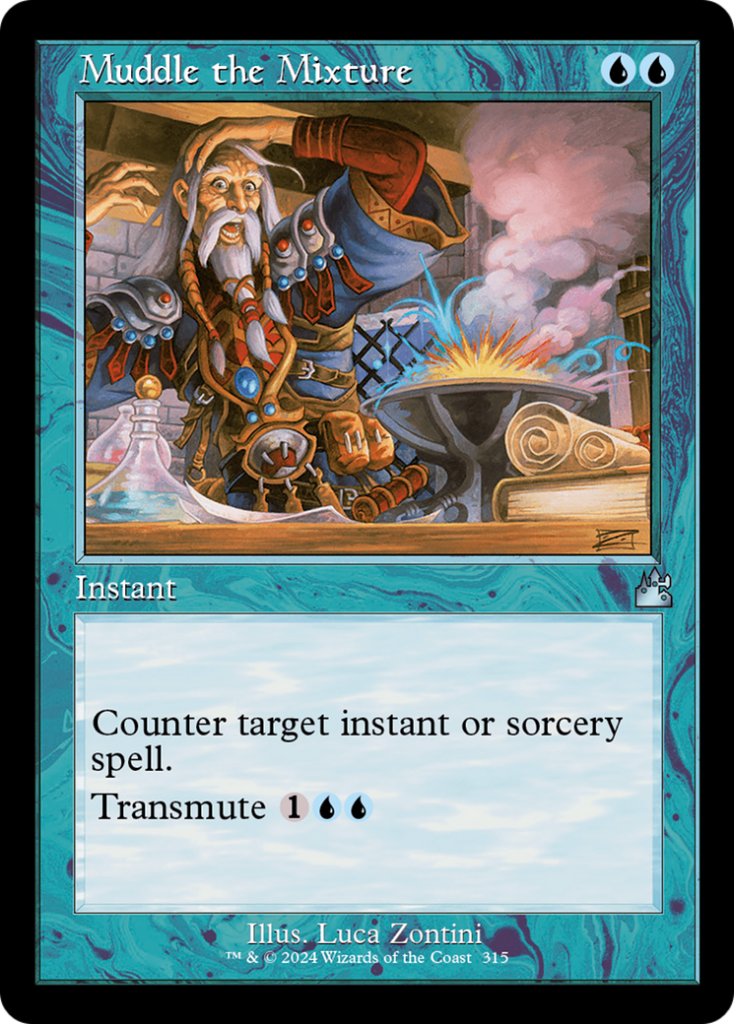
The number of counters is slightly reduced compared to classic control decks due to the minimum numbers we want to maintain for artifacts and enchantments. We keep the free spells (Mental Misstep, Force of Will, Force of Negation) except for Daze due to its poor synergy with what the deck does to generate advantage, which involves bouncing lands. One-mana counters (Force Spike, Mana Tithe, Wash Away) are very strong, fitting well into our game plan and retaining their value even in late-game stages thanks to lock effects. Additionally, the ability to generate ample mana allows us to play a spell like Null Elemental Blast, which would otherwise be limited by its mana cost. The two-mana counter section includes two tempo effects (Remand, Reprieve), one definitive and tutor-able counter (Counterspell), and one with mixed functionality as a potential tutor (Muddle the Mixture). Lastly, but not least, is Metallic Rebuke, easily castable from turn two and highly synergistic with Winter Orb.
Cantrip
Instant-speed cantrips are minimized for the same reasons limiting the presence of two-mana counters.
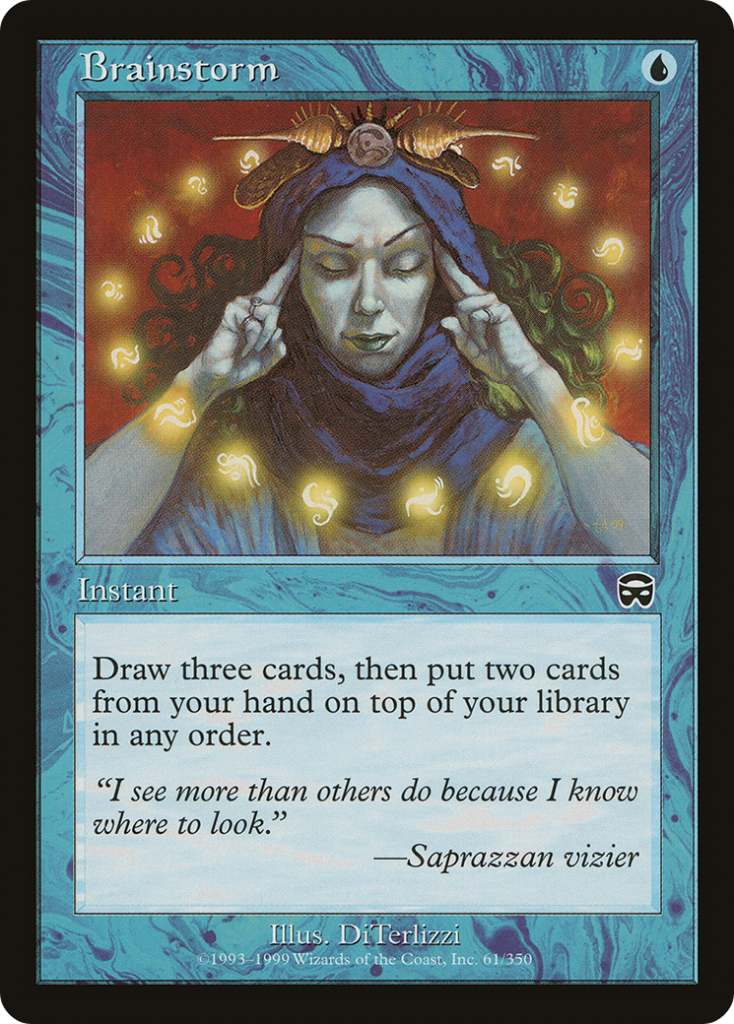
Brainstorm is highly relevant (allowing us to cycle bounced lands), less so Preordain and Ponder, which can be replaced based on meta calls.
The deck needs to be proactive in the early stages and selective with targeted searches through tutors: too many cantrips would undermine its efficiency in terms of speed.
Enchantments
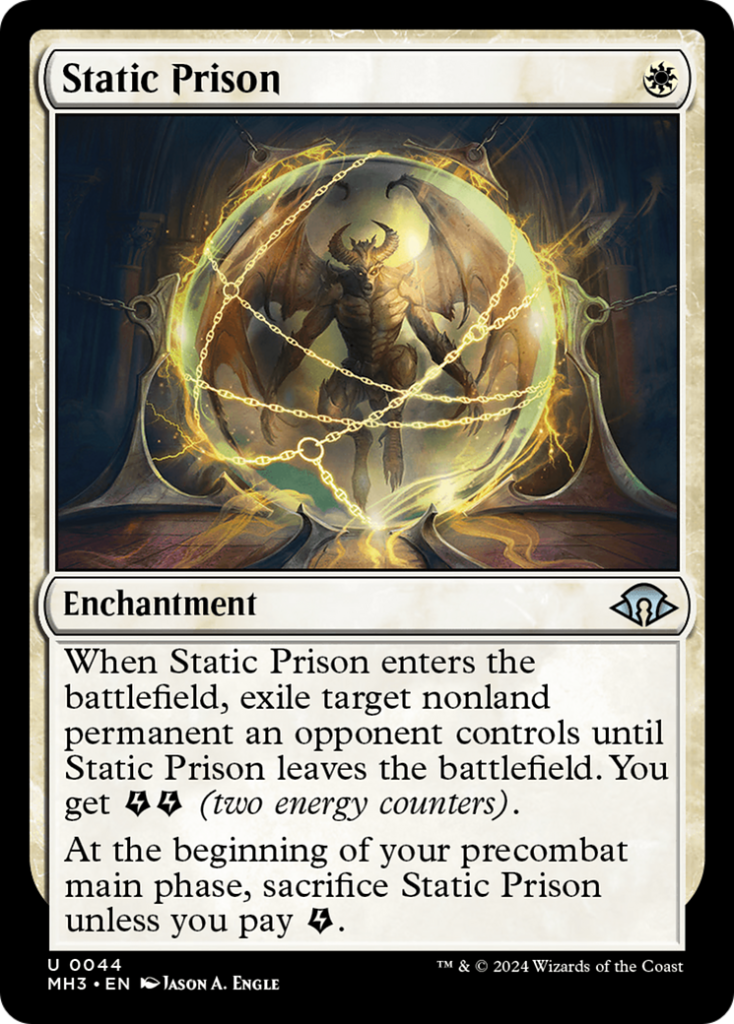
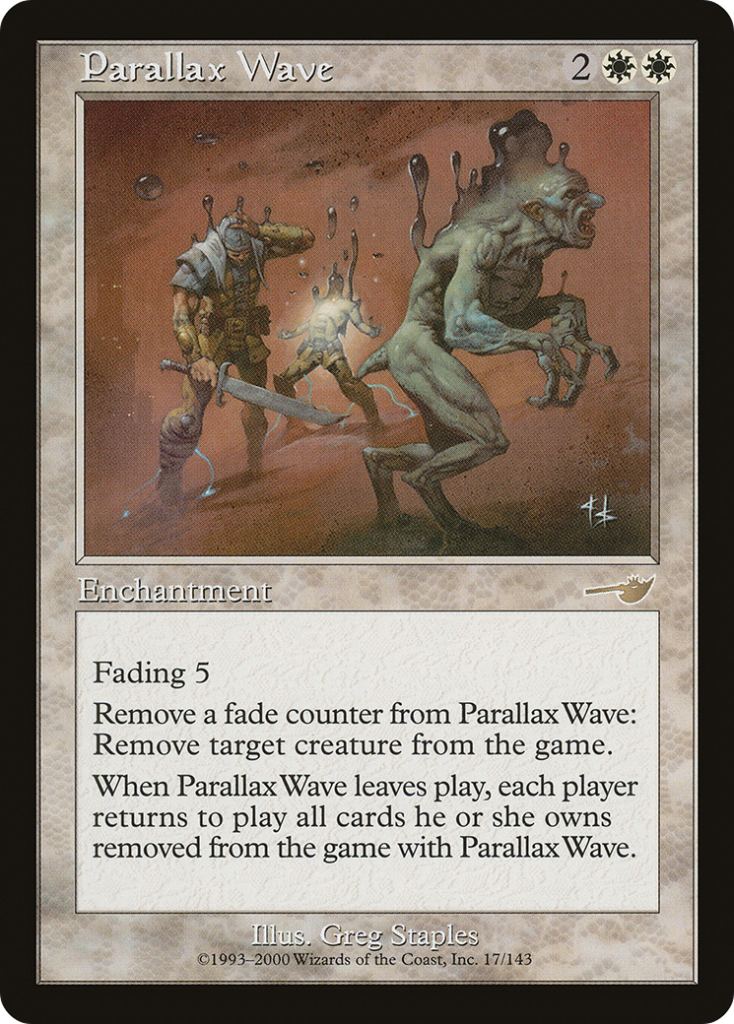
Enchantments have the same potential as artifacts, but their lower accessibility through tutors means their section is numerically smaller than their colorless “siblings.” They take on particular importance for their tempo effects (Seal of Removal, Static Prison, On Thin Ice, and Parallax Wave), optimized by Tameshi‘s ability. The only resolving effect is Seal of Cleansing, preferred over artifact solutions for its accessibility for reiteration with Tameshi. Currently, I’m playing Mind Harness (a meta call) over Meticulous Excavation, which is a bit slow but highly synergistic with everything that has an ETB (Urza, etc.), as well as resetting the count on Tangle Wire and allowing the reiteration of The One Ring.

Plainswalkers
Limited primarily due to slot constraints related to the build.
Teferi, Time Raveler is simply too strong: it blocks almost all stack interactions, is a significant threat against control, and provides a tempo effect against aggro and midrange.
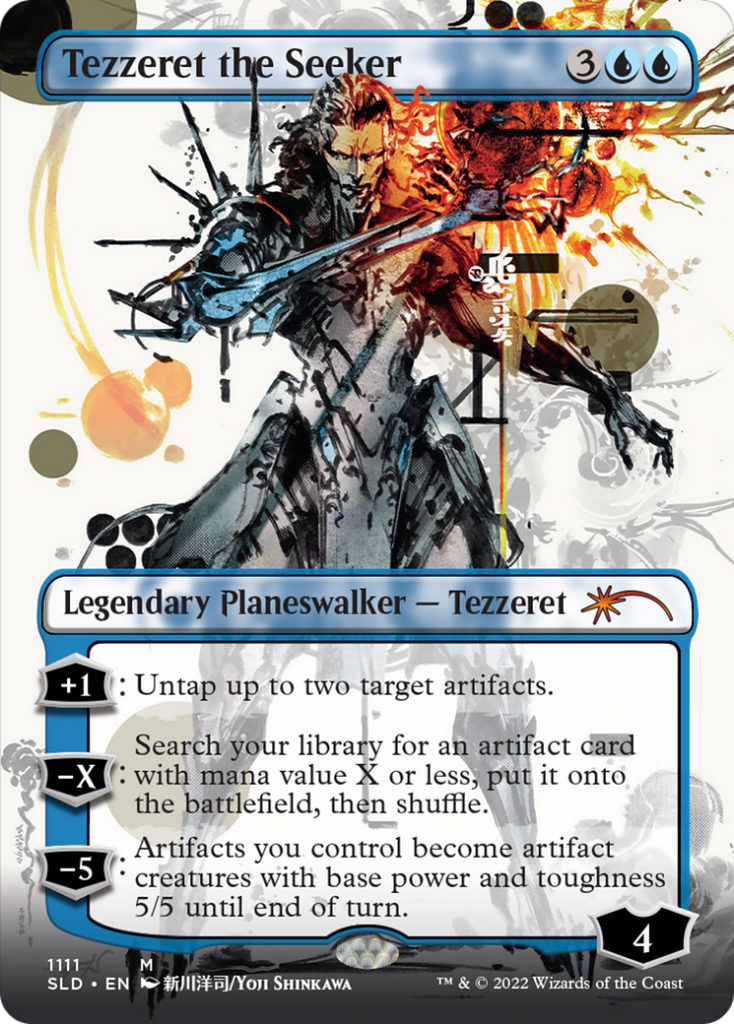
Karn, the Great Creator is an excellent option for fast Lotus Bloom plays, and Tezzeret the Seeker also enables repeatable tutoring.
Creatures
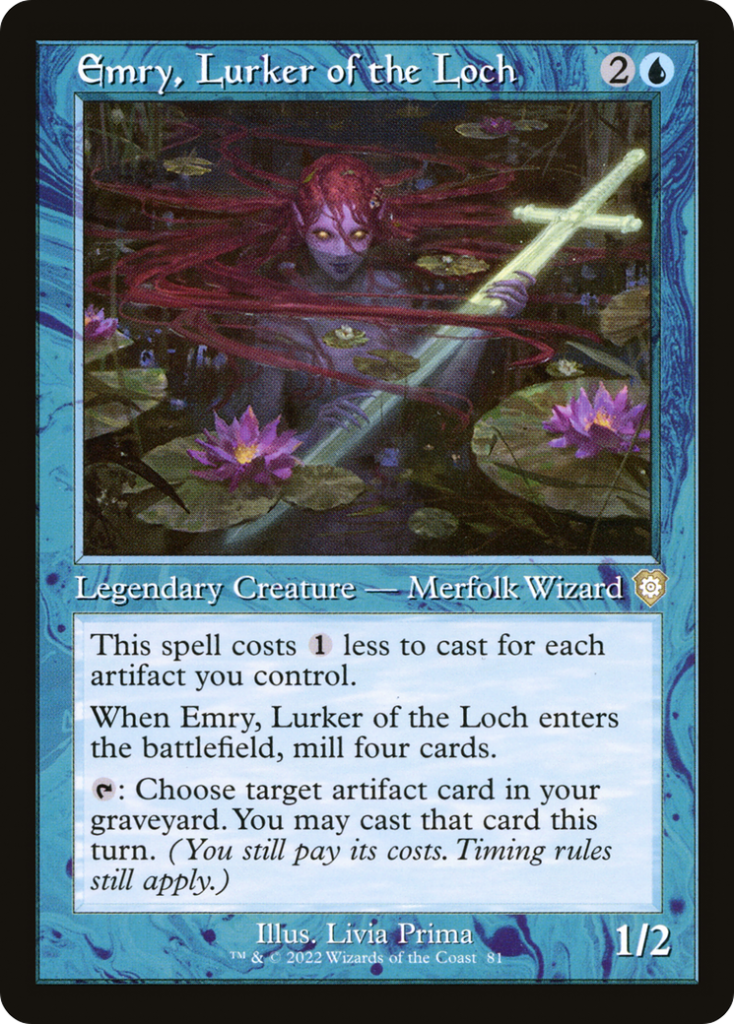
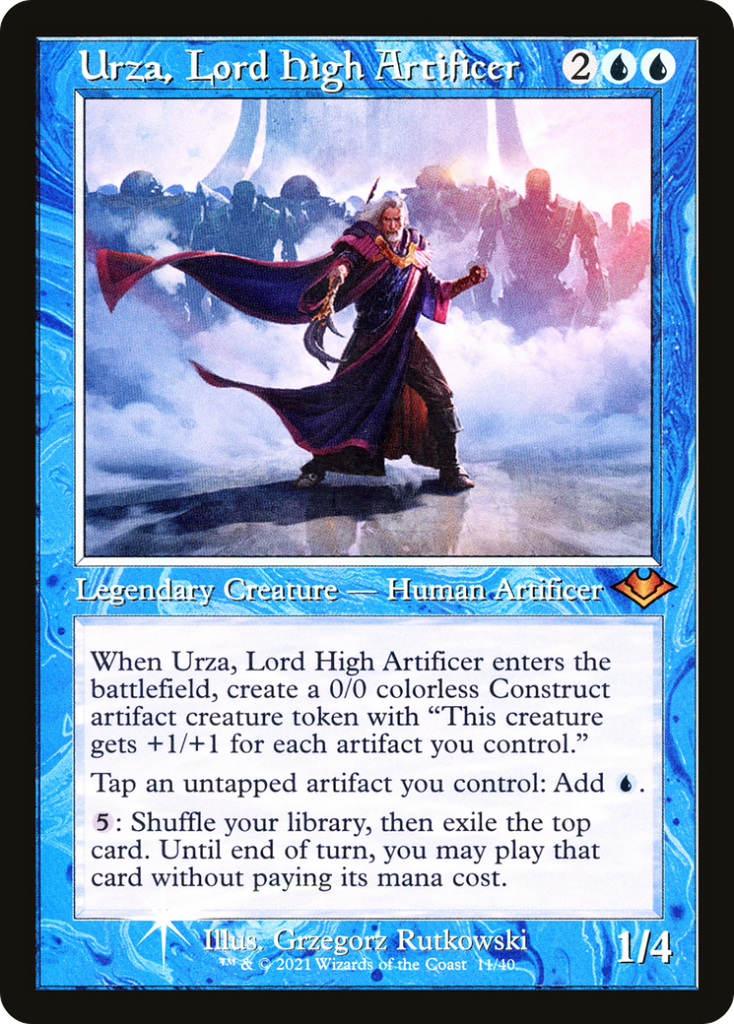
The creature section consists mainly of five tutors, two protections (one for the stack, one for on-board pieces), a combo piece, and two notable figures: Urza, Lord High Artificer and Emry, Lurker of the Loch, who are known to thrive when surrounded by artifacts.
Lands
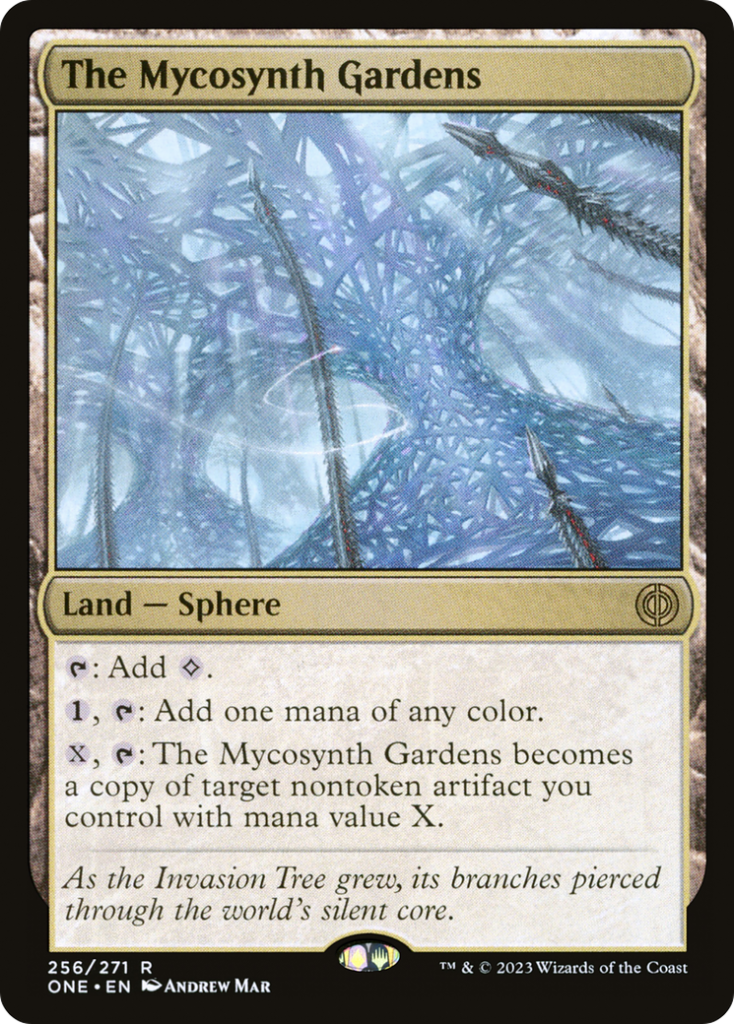
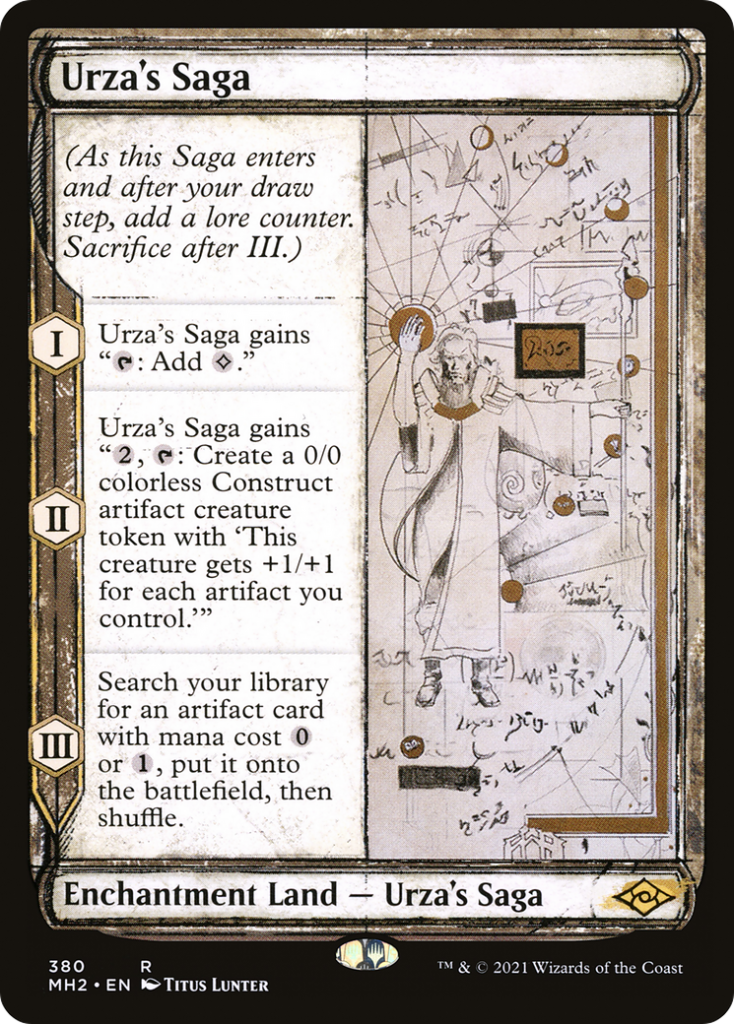
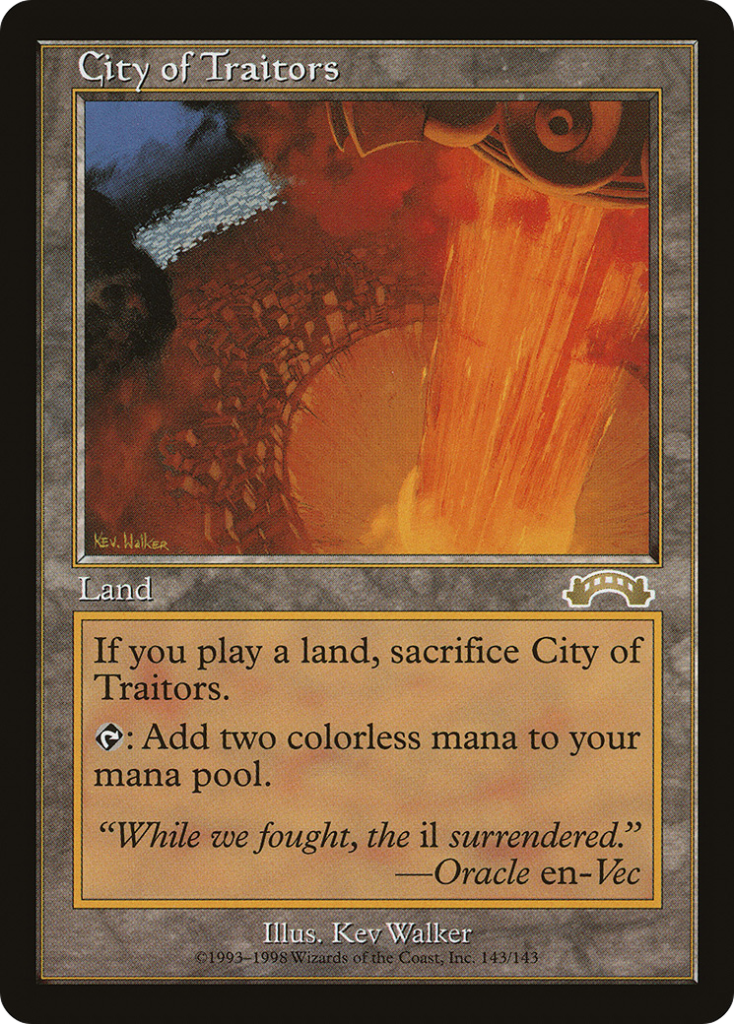
The deck features many utility lands. We have a wide selection for various game situations: life gain effect (Radiant Fountain), uncounterability (Cavern of Souls), permanent bounce (Otawara, Soaring City), creature removal (Eiganjo, Seat of the Empire), tutorability (Inventors’ Fair), and prevention of artifact exile (The Mycosynth Gardens). All of this is highly accessible thanks to Expedition Map, which is also easily tutor-able. The most important land is undoubtedly Urza’s Saga, the primary target for relevant tutors and easily repeatable with Tameshi. Other lands that take on particular importance include Oboro, Palace in the Clouds (allowing us to draw with Tameshi even without a graveyard and/or during the opponent’s turn), Mystic Sanctuary (to reiterate spot removal, counters, or tutors as needed), and City of Traitors (extremely synergistic with the commander, who avoids its drawback by bouncing it).
Gameplan
Despite its low cost, Tameshi isn’t a commander you can simply abuse. The game plan shouldn’t rely exclusively on our commander. The deck needs to function even without him, which is why we only include Spellskite as a potential protection. We need to have alternative plans for dealing with graveyard hate or Tameshi’s death. Remember, his ability bounces a land back to our hand, so unless we can win on the turn or create a board advantage that’s overwhelming for our opponent, we should activate it with caution.
We greatly favor the late game. The longer the game goes, the more advantage we can generate with Tameshi, as we can activate him multiple times per turn without worrying too much about the ‘drawback’ of his ability.
However, we can be very effective in the mid-game thanks to Lotus Bloom. This card is easily accessible through various tutors that can bring it directly into play or the graveyard. Spellseeker and Muddle the Mixture can also be considered potential tutors, even though they cost 5 mana. This is intensive but acceptable given the amount of mana Lotus Bloom can generate with Tameshi.
Urza’s Saga is certainly the best way to create board presence, optimized by its interaction with the commander and its easy accessibility via Expedition Map. Having a double tutor for Urza’s Saga, even across two turns, is a strong play in this deck.
Mana generators are crucial for our game plan, both in the early and later stages.
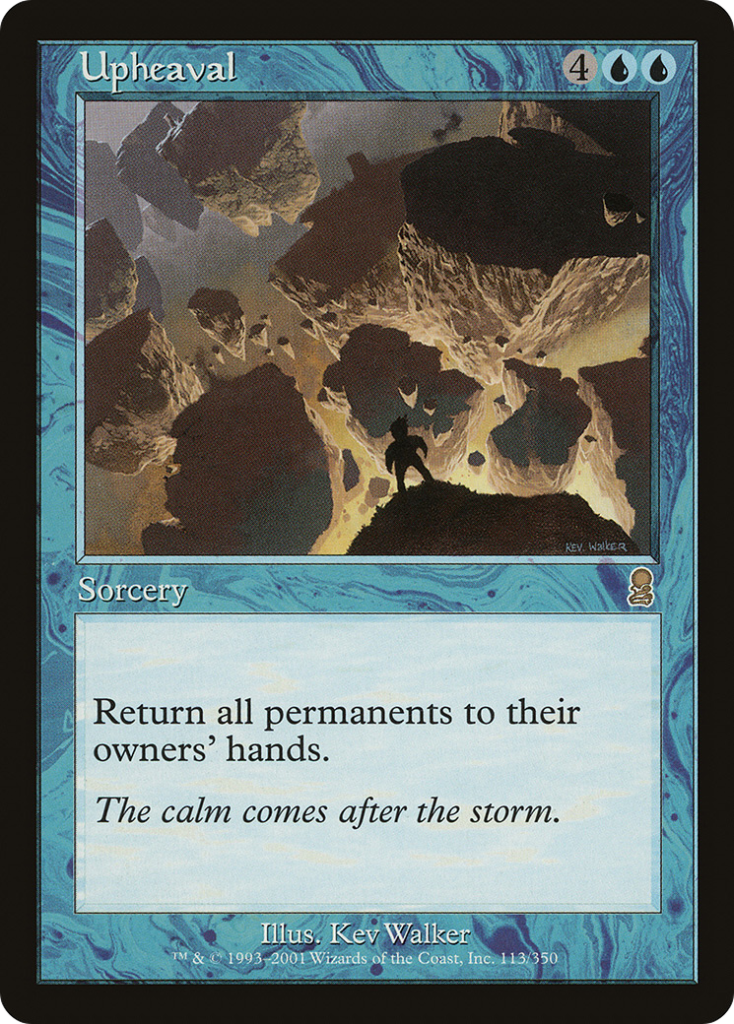
The game plan thus becomes quite varied, although the end goals are fundamentally two: Urza’s Saga and Painter Servant+Grindstone. Everything we build must support either the activation of the saga or the combo, grinding down the opponent. We rarely win in any other way unless the opponent concedes due to locks or after an Upheaval.
The deck has excellent access to combos, so let’s break them down:
- An artifact-based combo is a must with the number of tutors we play: Painter Servant and Grindstone are the most efficient pair.
- Upheaval is a card with a unique and annoying effect, and this deck is one of the few in the format that can support it. It doesn’t win the game directly but allows us to rebuild a board with 3/4/5 more permanents than our opponent, leaving them almost always unable to keep up with the recovery. The strength of this card lies in its ability to handle nearly every situation and force the opponent to rebuild their game while we accelerate ahead thanks to various mana generators, especially Lotus Bloom.
- The stax plan is clearly present. Winter Orb/Static Orb and Tangle Wire are optimized by Moonsnare Prototype/Urza, Lord High Artificer (for asymmetric effects) and Tameshi’s recursion.
Matchups and Weaknesses
The deck is highly versatile. Like all control decks, it shines in the late game, but its strong board creation ability also performs well in the early stages against aggressive decks. When that fails, we can always combo off or prevent our opponent from playing, ensuring victory in compromised situations.
We don’t have particularly negative matchups, so it’s more appropriate to discuss how to handle and how much we suffer from the key hate: graveyard hate. We can divide the relevant cards into three categories: single-use and repeatable (like Cling to Dust or Scavenging Ooze), global but one-shot (like Kaya’s Guile or Bojuka Bog), and global continuous (like Rest in Peace). We have a good number of solutions to all these scenarios, both on the stack and on the battlefield, but ideally, we should set up the game without relying immediately on the key piece. This isn’t always possible, but our advantage is that the less time our opponent has, the more likely they are to play a proactive deck with less hate (as they generally use reactive cards). Therefore, against proactive decks, the priority will be to create a consistent board, while against reactive decks, we need to pace our threats to uncover the solutions available to our opponents and work around them effectively.
Another potentially problematic group of cards includes mass removals like Farewell, Pernicious Deed, Brotherhood’s End, Pest Control, and Subterranean Tremors. Present exclusively in control archetypes, we need to manage our resources wisely, always aiming to restart with Tameshi / Upheaval / Grindstone + Painter’s Servant, or protect ourselves with counters after a potential all-in.
A second challenge you might encounter is the dependence on Tameshi. As mentioned, this is more about game setup. The deck must and can operate without the commander: when we can optimize it, we will, unleashing its full potential. Tameshi is often best considered a 4/5 mana drop, depending on the graveyard targets, and should be treated as such. We almost always need to gain some advantage in the turn he resolves, as games where we need to cast him 2/3 times are the ones where we’ll truly have to work hard to secure a win. If Tameshi stays on the board after the first activation, we’ll likely not lose the game: we’ll be able to generate a numerical advantage both on the board and in hand, which will be very difficult for opponents to keep up with.
Conclusions
The deck is definitely fun and interactive but also quite complex; we need to look ahead in the game, thinking about both preparing the ground for an efficient win and staying alive. Additionally, while it can generate significant advantage, we must always keep in mind the fragility of this commander, striving to depend on him only in relatively secure situations.
I hope this article helps readers better understand the deck’s structure and the unique features of this one-of-a-kind commander.
Written by
Federico Perno